How much do you think it cost me to make 70 invitations? Go on, guess!
Whatever you guessed, you’re probably way too high! It cost me £4 to make my invitations!
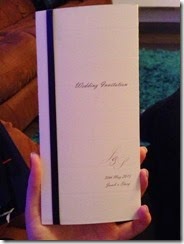
I am very lucky as my Mom got the card/paper and envelopes for free from where she works and my friend designed the layout that I wanted into a PDF file for us to print. The only thing we had to buy was ribbon.
Now I know that a lot of you won’t have the luxury of being able to get free things from work but you’ll still be able to save a lot of money by doing your invitations yourself. I’m so happy with how professional mine came out. You would never guess they were handmade!
If you want to give these a go yourself then keep reading.
Things you’ll need:
Card
Matching Paper
Envelopes
Ribbon
Printer
Scoring Board (Optional)
Sticky Tape
Double Sided Sticky Tape
Craft Guillotine (Optional)
Scissors
Method:
1. The first thing you’ll need to do is to design the layout of your invitation. Mine was all one sided so could have easily been done in Microsoft Word. Once you’re happy with the layout and have printed a test piece to make sure it’s right, go ahead and print all the outers for the invites. Mine simply had “Wedding Invitation” our initials, names and date of the wedding.
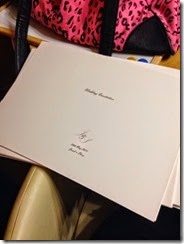
2. Once you’ve got them printed, you can either use a scoring board to make the folding a little bit easier and to make sure that you are folding them in the exact same place every time or you can just go ahead and fold them if you don’t have access to a scoring board.

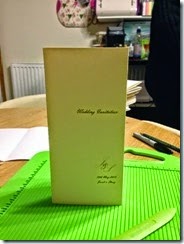
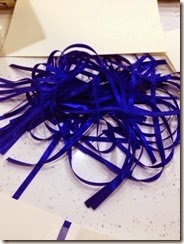
3. Now you have them folded you need to cut the ribbon into strips. Once these have been cut, you need to position them where you want them and then stick them down using normal sticky tape.
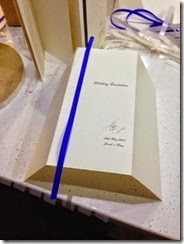
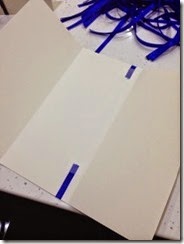
4. Using the double sided stick tape you now need to fold over the left hand third (as looking at it from the middle picture above) to cover the ribbon and to make it into a card. I used the double sided sticky tape on the top, bottom and down the side in order to make sure that it was securely stuck down.
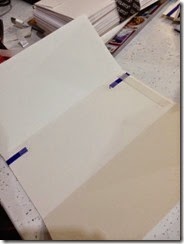
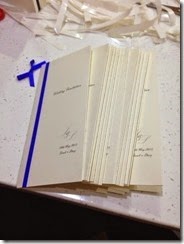
5. As you can see from the above picture, we toyed with the idea of having a bow on the front but we preferred the simplicity of the invite without it. You now need to print out the inners of the invites. I wanted every persons name to be typed out rather than putting a space for each name to be hand written but if you would prefer to hand write the names inside then that’s fine. I did this is Microsoft Word and had to print out a couple of test sheets to make sure I got the alignment right. Don’t forget to do two different inners – one for the day guests and one for the evening guests. Unfortunately, I forgot to get a picture of them before I stuck them in!
6. If you have a craft guillotine then you can use this to cut your inners to size and to make sure that you have straight lines. My cutting skills are really not that great so I used the guillotine option. If you don’t have a guillotine, then you can use a pair of scissors.
7. Finally, you just need to stick the inners into the outers using a strip of double sided sticky tape and then that’s the invitations done!
I haven’t posted a picture of the inners for privacy reasons but the wording we used is as follows:
Together with their families
Jacob John Warrilow & Stacy Bates
would like to invite
………………………….
to celebrate their marriage
at
………………………
reception to follow at
……………………..
Please RSVP by April 30th 2015
If anybody gives these a go, please let me know, I would LOVE to see!


